
 Mustang provides an experimental modern C++ interface for GUI libraries. The cross-platform interface, along with several reference implementations, is open source made available under an MIT permissive free software license. Although the industry currently has no standard C++ GUI library, we can still foster discussions in this area and gather ideas. Our goal is to provide a C++ interface that has the style and feel of a standard. As a proof of concept, Mustang provides a handful of reference implementations which wrap existing GUI libraries and platforms such as .NET, Cocoa, Cocoa Touch, Android and Qt.
In its infancy today, the experimental project is not for production apps. The library currently provides a small subset of what you’d expect to find in a complete GUI library. But it’s enough for discussion purposes and a few introductory hello world apps which we’ll see later in this text.
If you need a cross-platform C++ GUI library for a serious app today, you might consider something like Qt or wxWidgets.
But if you’d like to have fun experimenting with a new C++ interface for GUI libraries, you’re in the right place. The Open Mustang Project encourages participation from all interested developers. If you know multiple programming languages in addition to C++, your skills could definitely help in the development of the reference libraries. If you’re hardcore C++, your knowledge could help us improve the C++ interface and design of the class hierarchy.
Documentation of the interface is a community effort hosted at the wiki site: http://openmustang.com/wiki
A Quick Example
Consider the following class definition.
class MyWindow : public window
{
    public:

    void init()
    {
        shared_ptr<txt> = make_shared<text_field>();
        txt->set_bounds(rect(100,100,400,200));
        txt->set_text("Hello World");
        add_child(txt);
     }
};
The programmer’s class MyWindow derives from the Mustang class window. While the programmer’s code in this example uses the CamelCase naming convention, Mustang uses lowercase as with STL. MyWindow contains a single method, init(), which has only four lines. First the method instantiates a text_field object and assigns it to a shared pointer. Next it sets the location and dimensions of the text control and sets the control’s text to “Hello World.” And finally the text_field object is added to the window’s collection of child controls. Now let’s look at how the init() method might be called.
This short main() function is all that is needed to complete the app.
int main (int argc, const char *argv[])
{
    application app(argc, argv);
    shared_ptr<MyWindow> win = make_shared<MyWindow>();
    win->init();
    return app.run();
}
Only two classes are used in this function, application and MyWindow. The code here is pretty standard for applications using the Mustang library. First, an application class is instantiated by passing command line parameters to its constructor. Next, an instance of MyWindow is created and saved to a shared pointer. MyWindow’s init() method, which we saw previously, is then called. And finally, the application’s run() method is called which enters a loop and remains there until the program exits.
That’s it for the code. We just have to make sure we include the proper header files.
#include <mustang.h>
using namespace mst;

#include <memory>
using namespace std;
We include mustang.h for the Mustang classes and include memory for the standard library’s shared_ptr. The Mustang namespace, mst, and the standard C++ namespace, std, are used to make the code more readable.
Putting it all together we have :
#include <mustang.h>
#include <memory>

using namespace std;
using namespace mst;

class MyWindow : public window
{
    public:

    void init()
    {
        shared_ptr<txt> = make_shared<text_field>();
        txt->set_bounds(rect(100,100,400,200));
        txt->set_text("Hello World");
        add_child(txt);
     }
};

int main (int argc, const char *argv[])
{
    application app(argc, argv);
    shared_ptr<MyWindow> win = make_shared<MyWindow>();
    win->init();
    return app.run();
}
The simple app can now be compiled and linked against the reference library of your choice.
| Mustang Library Name | Library being wrapped |
|---|---|
| mustang-n.lib libmustang-c.lib libmustang-t.lib libmustang-a.so libmustang-q.lib |
.NET for Windows Cocoa for OSX Cocoa Touch for iOS Android Qt for Linux and more |
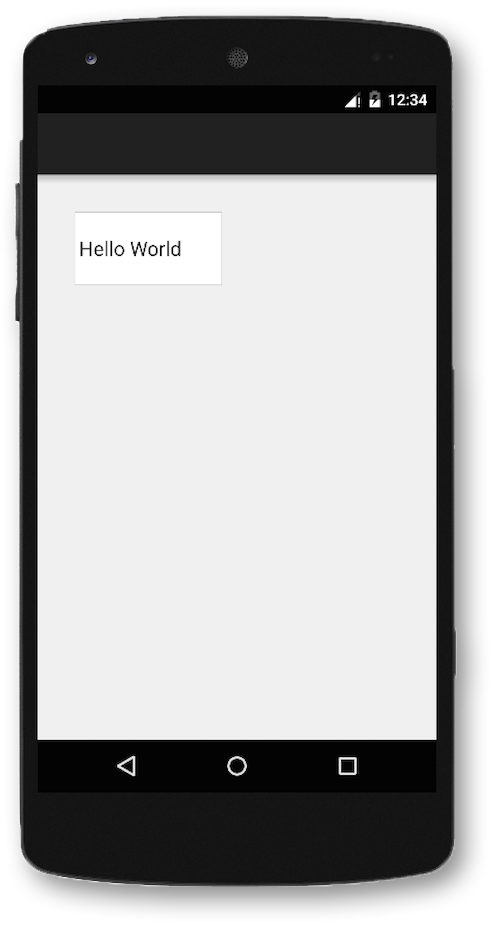
The image here shows the app running on an emulated Nexus 5 device using library libmustang-a.so for Android.
Building and installing the Hello World app is fairly simple as outlined in these steps.
- From a terminal window, create a new directory for you app’s source code. For this example we’ll create a directory called hello.
mkdir hello
- Change to the source code directory and create a file called main.cpp copying in the code from above.
cd hello
vim main.cpp
- From the source directory, execute the Mustang script init-mustang-android. This will create a subdirectory called android which you can use with CMake later to configure makefiles.
init-mustang-android
- Now created a build directory beside your source directory. We’ll create a build directory called hello_build.
mkdir ../hello_build
- Change to the build directory and execute cmake.
cd ../hello_build
cmake ../hello/android
- Run make.
make
- Plug in your Android device or start an emulator then run make install.
make install
- To run the app you just installed, tap the app’s icon on your Android device.
In future articles, we’ll see how to add a button and how to write a handler for the click event. We’ll also explore painting colors, shapes and using other graphics primitives.
If you find the topic here interesting, please leave a comment below and tell us what you think.